


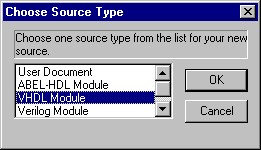
1. Create a source file. Select Source -> New. The Choose Source Type dialog box appears. Select VHDL Module and click OK.
2. The New VHDL Source dialog box appears. Create a Module Name and a File Name for your project. Both the Module Name and the File Name must be 8 characters or less. Click OK.
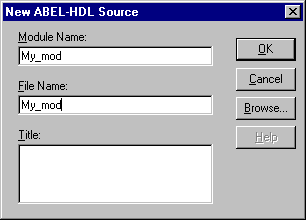
Normally, give the Module Name and the File Name the same designation.
Note: You should give your source file a different name from your project (design) file name.
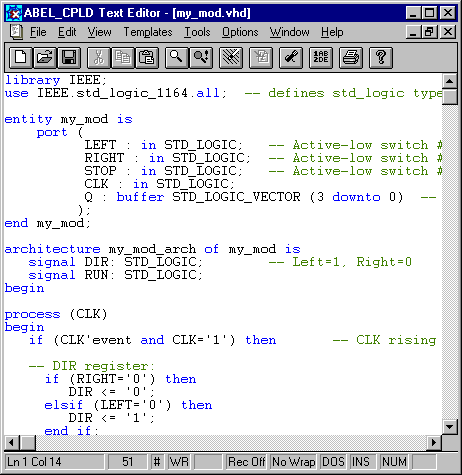
3. The Text Editor will appear. Enter your design description into the editor and save.
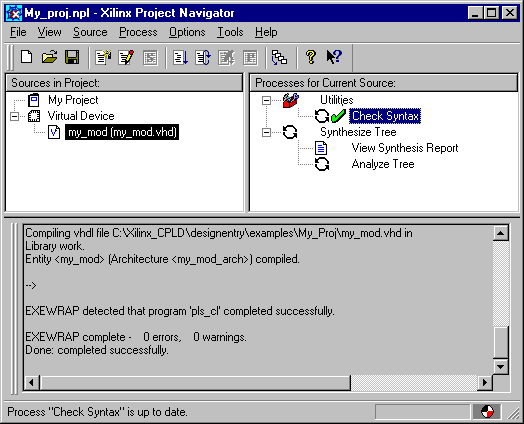
4. The new module is now listed as the top-level module of the project. With the module name (my_mod) selected in the Sources window, double-click Check Syntax to check the VHDL syntax.
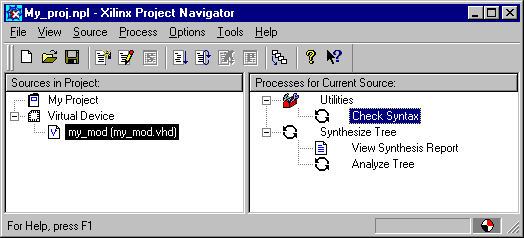
5. The Transcript on the Navigator will let you know if the Syntax is correct and places a check next to Check Syntax.
Note: To create a new VHDL package open the HDL editor from the Project Navigator menu Tools->HDL Sensitive Text Editor. Create the body of the package in a new document in the editor and save
the file with a .vhd extension in your project directory. Then add the package to your design using the Project Navigator menu Source->Add. Choose the .vhd file you created and select open. Finally choose
VHDL Package as the source type.
![]() Implementing a New Top-level Design
Implementing a New Top-level Design
![]() Creating an ABEL Macro
Creating an ABEL Macro